Drying Herbs for Tea and Homemade Blends Naturally

Drying herbs for tea is so simple that it makes you doubt: That’s it? Why didn’t I start sooner? That’s how it happened to me. Now I’ll share with you three ways to dry herbs for your own herbal teas sustainably, without electricity or heat. Drying herbs in a bouquet to bundle dry them in large quantities, sewing the larger leaves for tea into a “string of pearls,” and flat-drying herbs and flowers. Each drying method is simple to use when you focus on the key steps I cover from harvesting and drying to storing the herbs.
Harvesting Herbs to Dry – Timing matters
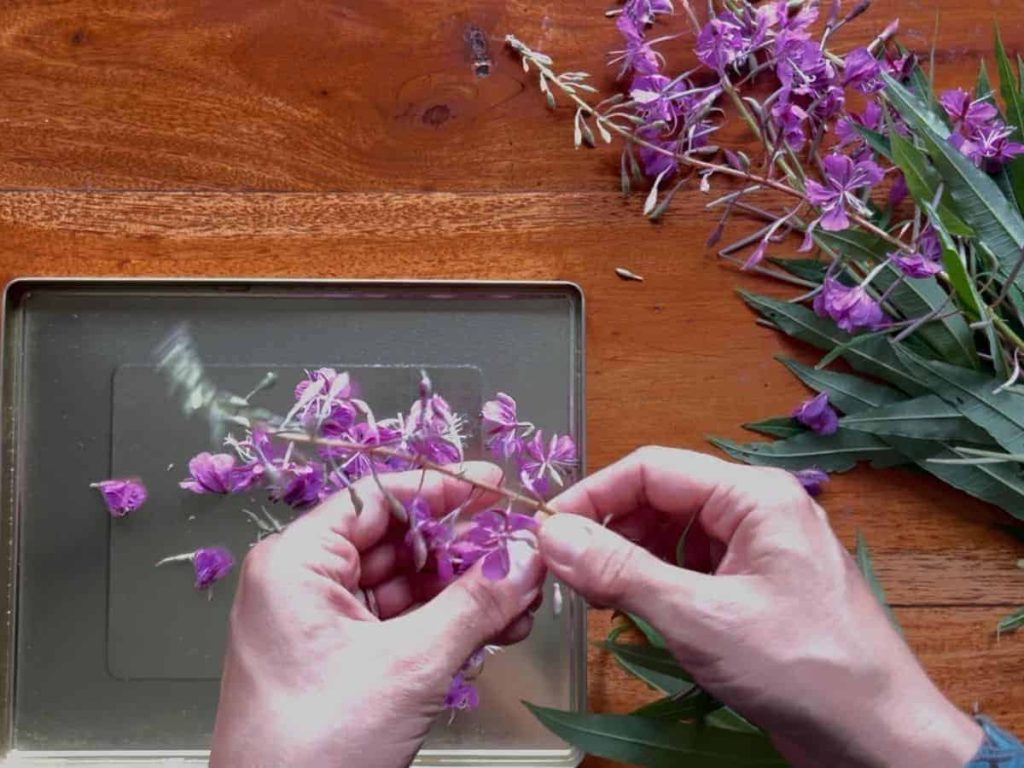
When harvesting leaves for tea, the best time to collect is before blooming. When the plant starts to bloom, it gives lots of its energy and focus to the flowers to grow, so the flavor of the leaves will be milder or even turn slightly bitter, like when harvesting fireweed for tea, for example.
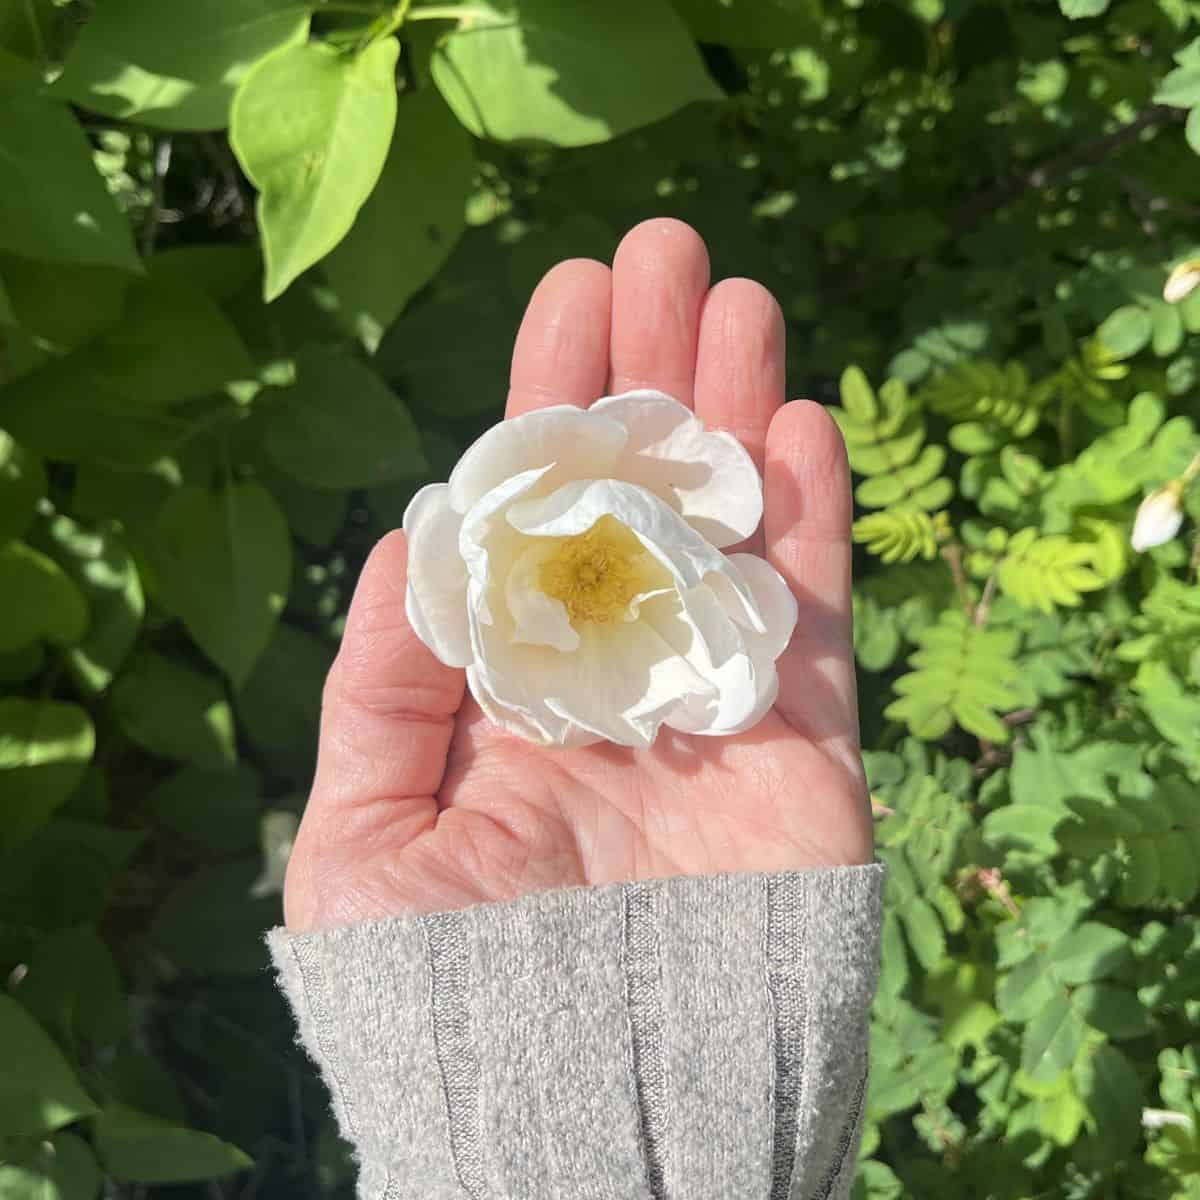
If you are harvesting flowers for the tea, collect them as buds or right after they have opened.
Harvest young, healthy leaves whenever possible. They tend to have the best flavour and highest levels of many beneficial plant compounds. (Source). From drying to storage and finally steeping, some delicate compounds, especially volatile oils and certain antioxidants, naturally change or decline over time. (Source).
Head to the garden or forest in the morning, when the morning dew has already dried off. If you collect your herbs when they are damp, it takes a longer time to dry them, and the risk of mold during the drying process is much higher.
Short on time?
Pin it for later!
Cultivated vs. Wild Herbs for Tea
Herbal teas are amazing, for you can use simple herbs to grow in a beginner herbalist’s tea garden or head to the forest to forage herbs for your homemade tea or herbal infusion.
Collecting Herbs from Garden
When growing in your garden, avoid pesticides to have clean leaves for tea. Note also that some strong fertilisers might boost the plant to bloom faster, so if you are aiming to collect the leaves and not flowers nor the fruit (like when cultivating tomato or cucumber for food).
Foraging Herbs for Tea
When you are foraging wild herbs for tea, first of all, make sure (I mean 100% sure) that you know the plant before collecting it. If you are a beginner herbalist, start with plants you already know or that are not known to have any poisonous lookalikes to make it simple.
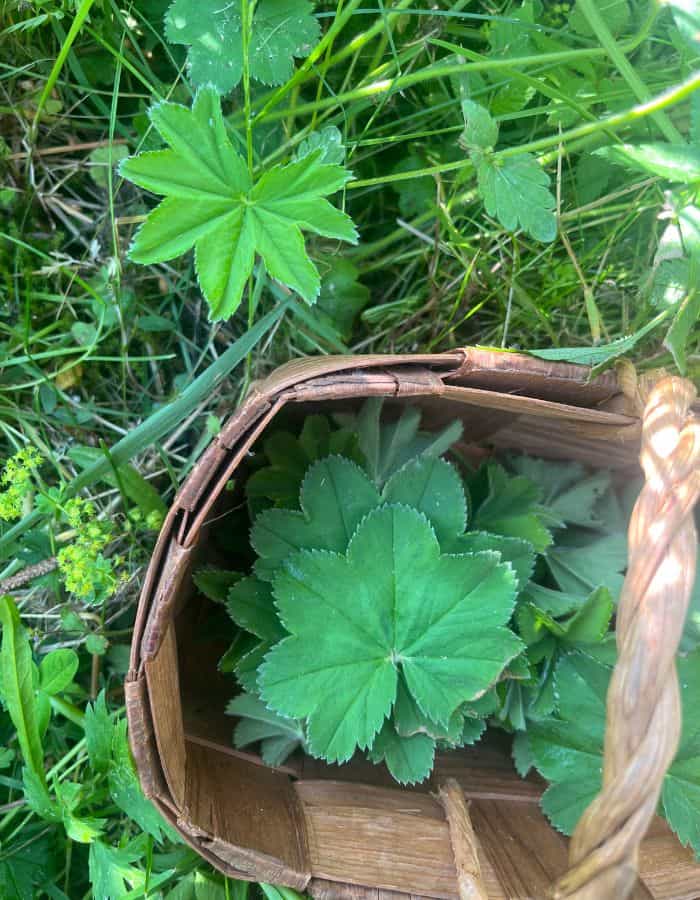
I love to forage for tea, simple herbs like lady’s mantle, raspberry leaves, stinging nettles (they make super amazing nettle pancakes too, by the way), fireweed, yarrow, or even spruce shoots.
Drying Herbs for Tea Without a Dehydrator
When I started with herbs and tea, I thought at first that I needed a dehydrator or that beautiful drying rack to hang on the ceiling to dry herbs “properly “ or “professionally”. Turned out that it is so much simpler than that. Herbs are not that fussy. To dry properly and to keep their flavor and properties, herbs need basically just air and shade.
That’s it.
Otherwise, you can dry them however you like, but I’ll show you my three favourite ways to dry herbs, and the pros and cons of those options so you can choose the best option for you and each plant you are drying.
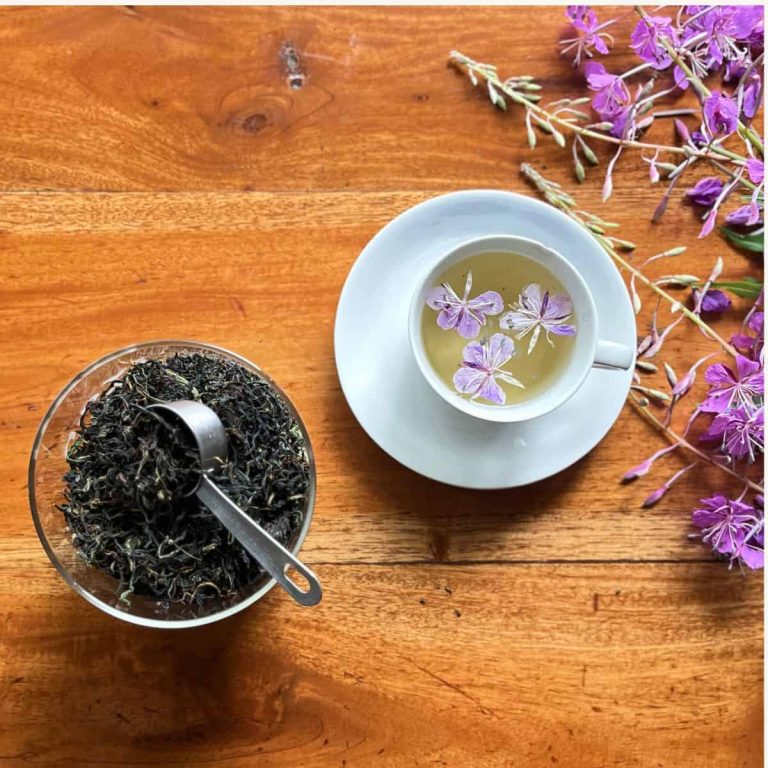
Some herbs can have a multiple-step drying process when you want to deepen the flavours with oxidising and fermenting, like making the caffeine-free “black tea”, Ivan Chai, from fireweed leaves.
Air drying the herbs is a simple and natural way to dry herbs sustainably without using power, just time and air.
Natural Drying Process of Herbs
- Harvest the herb.
- Dry it using the method that suits you and the plant.
- Let the time do its thing to dry the plant crisp dry.
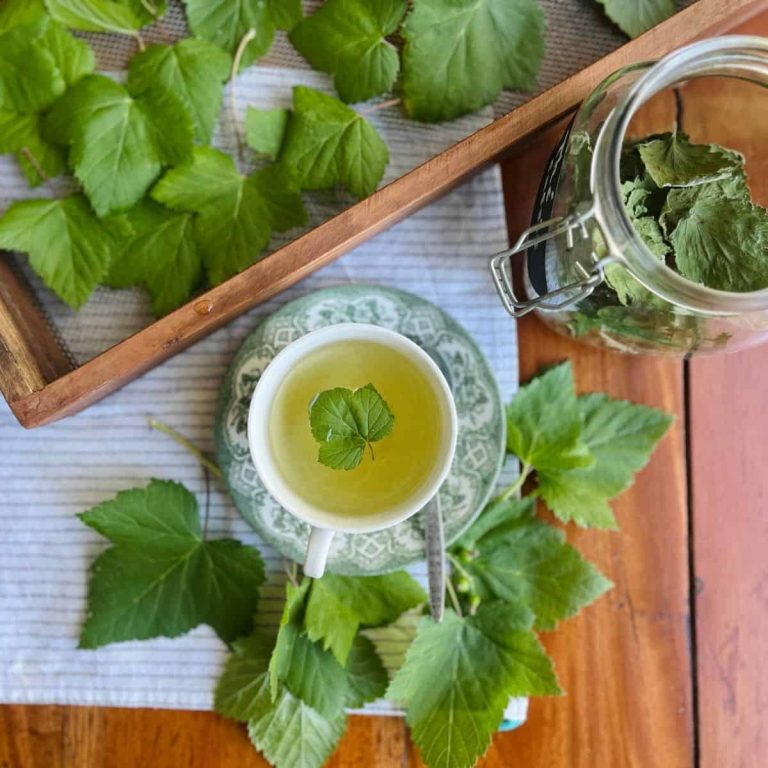
- Store it in a glass jar for your tea.
Three Ways to Dry Herbs Without Electricity
So we already know that herbs need air to circle around them to dry and shade to keep the green color and to not to let the nutrients escape too much. To make those two things happen we can dry herbs in bouquets, like string of pearls or flat on trays or strainers.
Bundle-Dry Herbs Hanging Them in a Bouquet
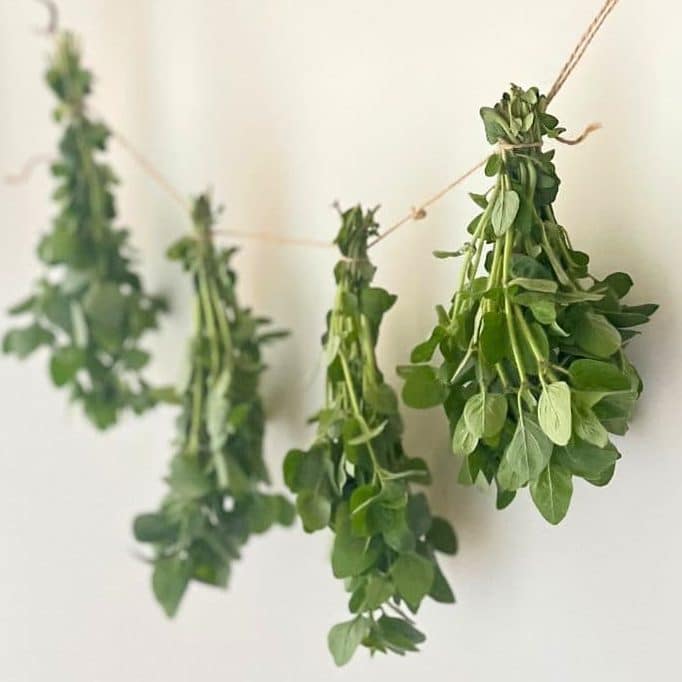
The simplest, easiest, and maybe the most common way to dry herbs is to make a bouquet of them and hang them upside down to dry.
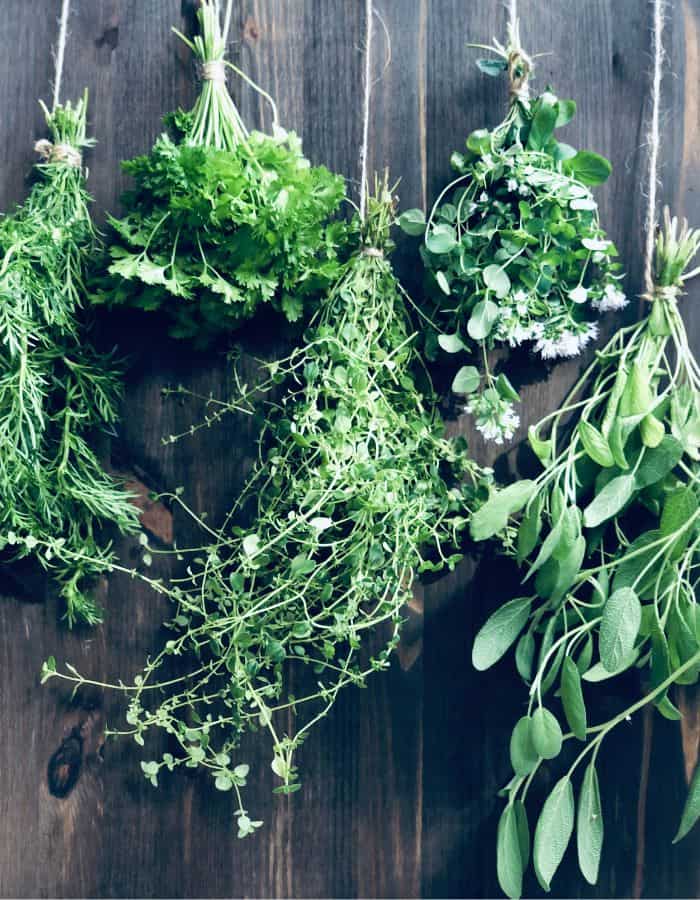
The hack is to keep the bouquets tiny enough, about one centimetre (1/4 inch) thick in diameter. The stems are tied together to keep the bouquet airy and prevent the stems from starting to mold.
Tie the yarn very tightly to keep the stems intact throughout the drying process. When the herbs dry, the stems will shrink down too, and herbs that are too loosely attached will fall off the bundle. I love using simple jute yarn to attach the herb bouquets, for they are easy to detach also after drying and to reuse the yarn with the next bouquet. Jute yarn is also not too fine to cut the stems of herbs when tied tightly.
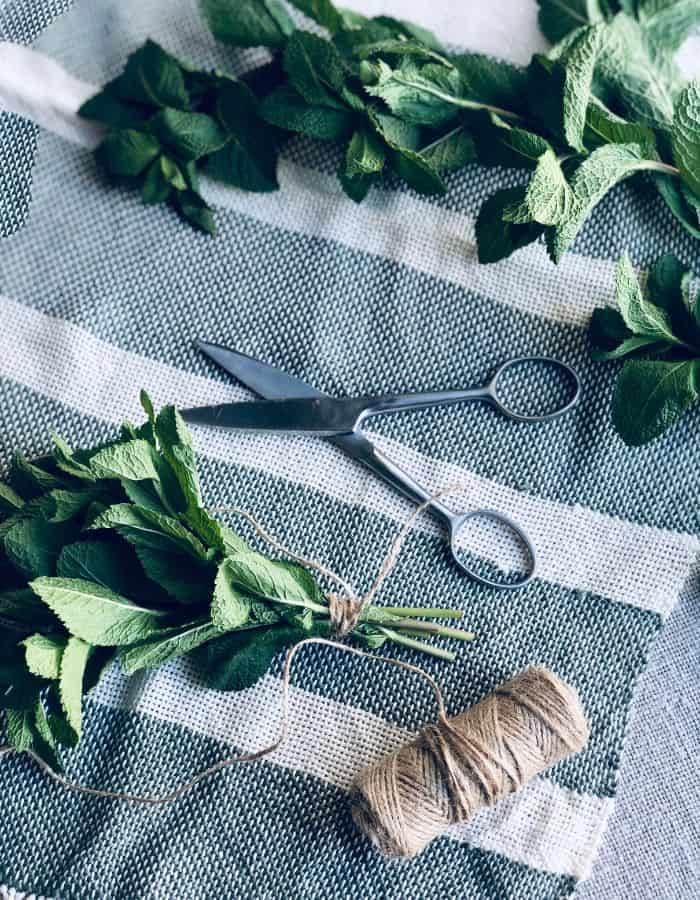
Step-by-step Bundle Drying Method
- Harvest the herb with as whole (stem and leaves).
- Attach the stems from the end into small 1cm (1/4 inch) bouquets with a yarn.
- Tighten to avoid herbs falling when drying.
- Detach the leaves from the stems when crisp-dry.
- Store airtightly.
Pros of Bundle Drying Herbs
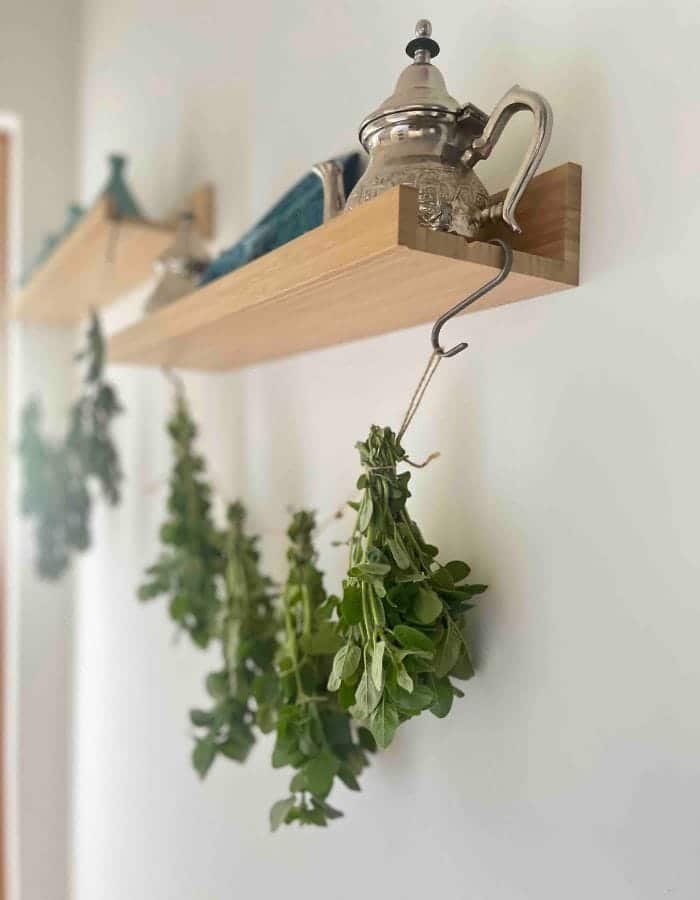
Drying herbs in bouquets is a good way when you are collecting big quantities of herbs and you want to save time up front in starting the drying process. It doesn’t take much space and you can simply hang your herbs anywhere where at home where is shady and dry (scroll down to see some examples).
Cons of Bundle Drying Herbs
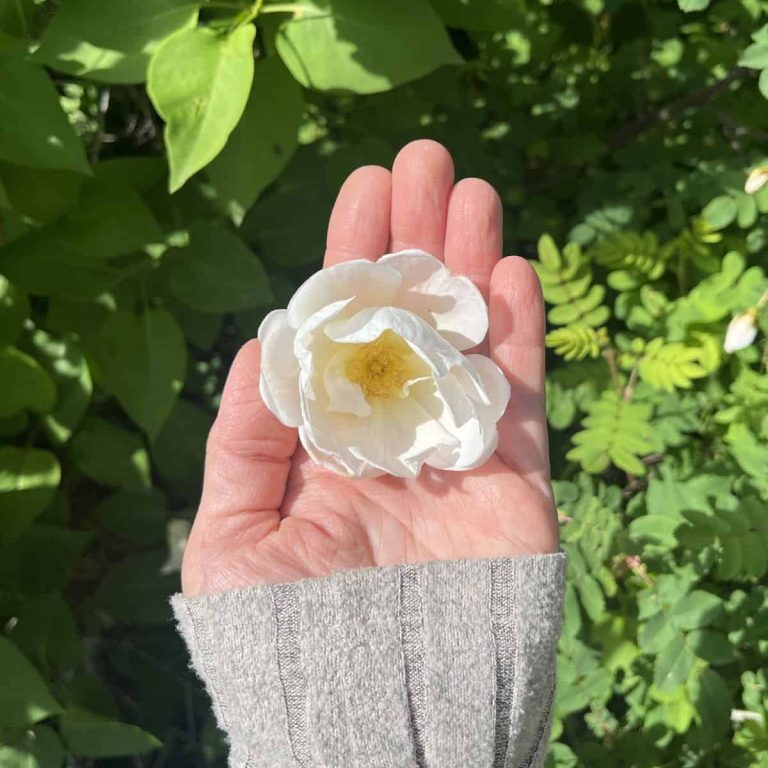
When the herbs dry, some of them fall to the floor a bit, so you can have herb crumbs on the floor. I don’t recommend bouquet drying for drying bigger flowers like roses for tea, as the petals tend to detach easily when wilting and in the early stages of drying.
Herbs are not handy to store in the form of bouquets, so you still need to take off the leaves to store them in a glass jar, for example. If you have big herbal bouquets, this step of the process might be very crumbly. I prefer doing several bouquets in one go so that I need to do the cleanup only once.
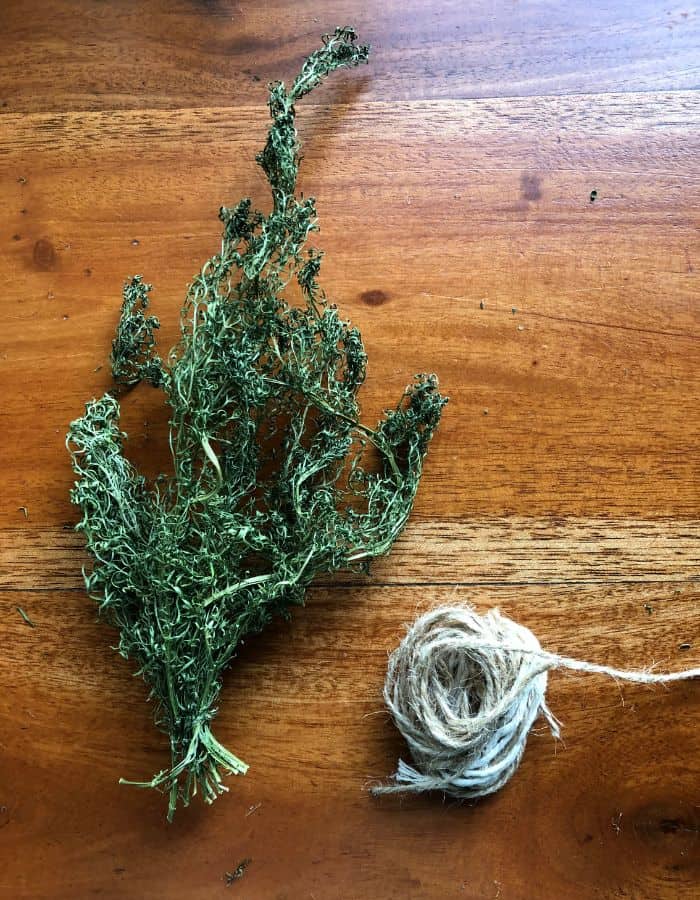
Examples of Hanging Herbs in Bouquets to Bundle Dry
I want to show you that drying herbs is easy. So here are a few different options to dry herbs, of which three I am using at this very moment of writing this article – herbs are happily drying in this house around the year!
- Hang from a door handle or rack nobody uses (in every house, there is at least one that is not in everyday use, so why not dry herbs with it?)
- Use hooks and a string under a shelf to attach the bouquets
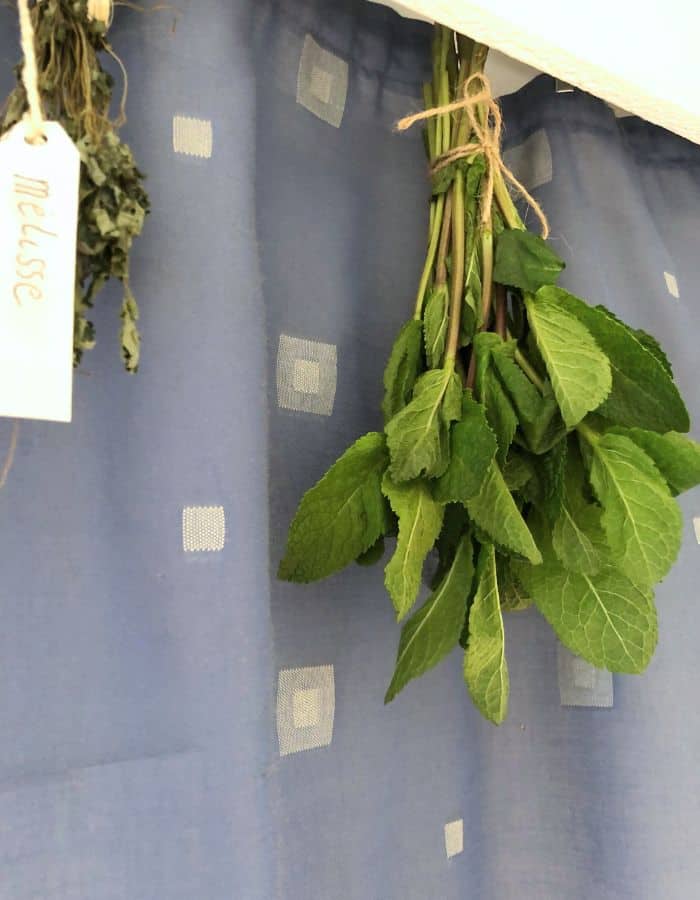
- Two bouquets attached to the two ends of a string and hung from a ceiling plank or curtain rod
- Hang from a curtain clip
- Hang a from a random nail on a wall
Drying Single Leaves in a “String of Pearls”
When you are drying bigger leaves like lady’s mantle leaves or leaves from the bushes like black currant that are impractical to make into a bouquet, a good option is to sew them on a thread like a string of pearls. Make sure you don’t tighten the necklace too much so that every single leaf dries well and does not get moldy or start to rot.
Simple “String of Pearls” Drying Process
- Harvest the herbs.
- Detach the leaves.
- Pile 4 to 5 leaves to pierce through with a needle and thread.
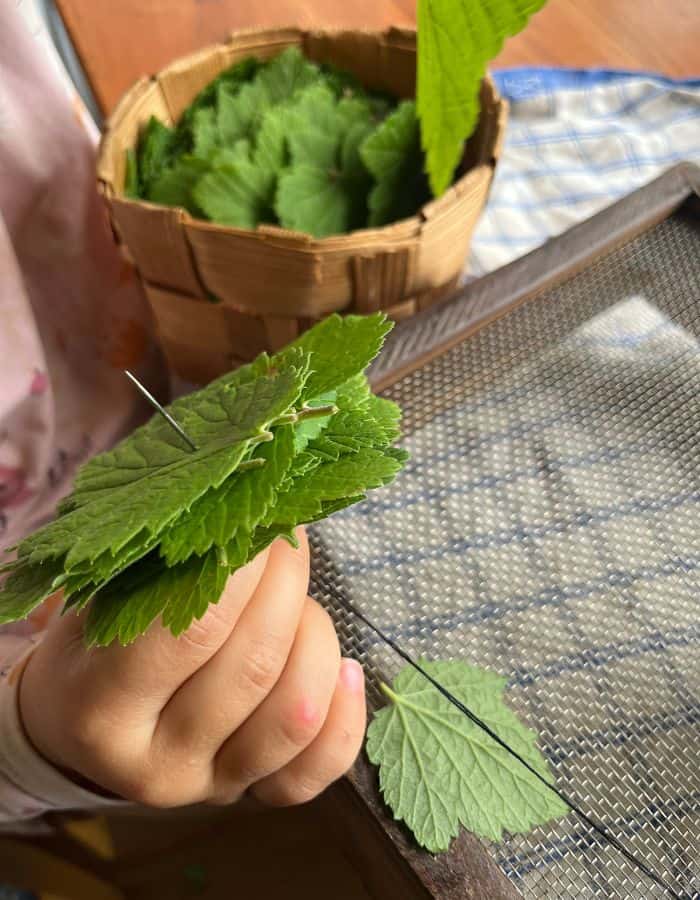
- Don’t tighten the “necklace” too much to let the air move throughout and avoid mold.
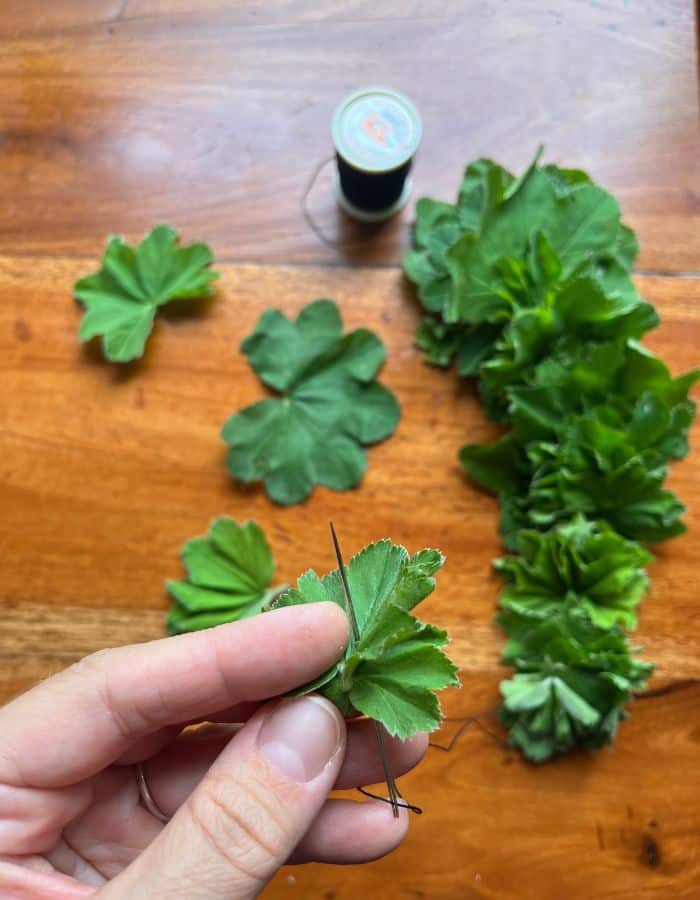
- Store by pulling the herbs from the thread into a glass jar when crisp-dry.
Pros of String of Pearls Drying Method for Herbs
When making the “necklace,” nest the leaves to pierce multiple leaves in one go. When you have already harvested only the leaves and they are dry, you have one simple job: just pull the herbs from the thread into a jar.
When doing the work of cleaning up the herbs before drying, the “string of pearls” method saves notably time and effort at the moment of storing the herbs.
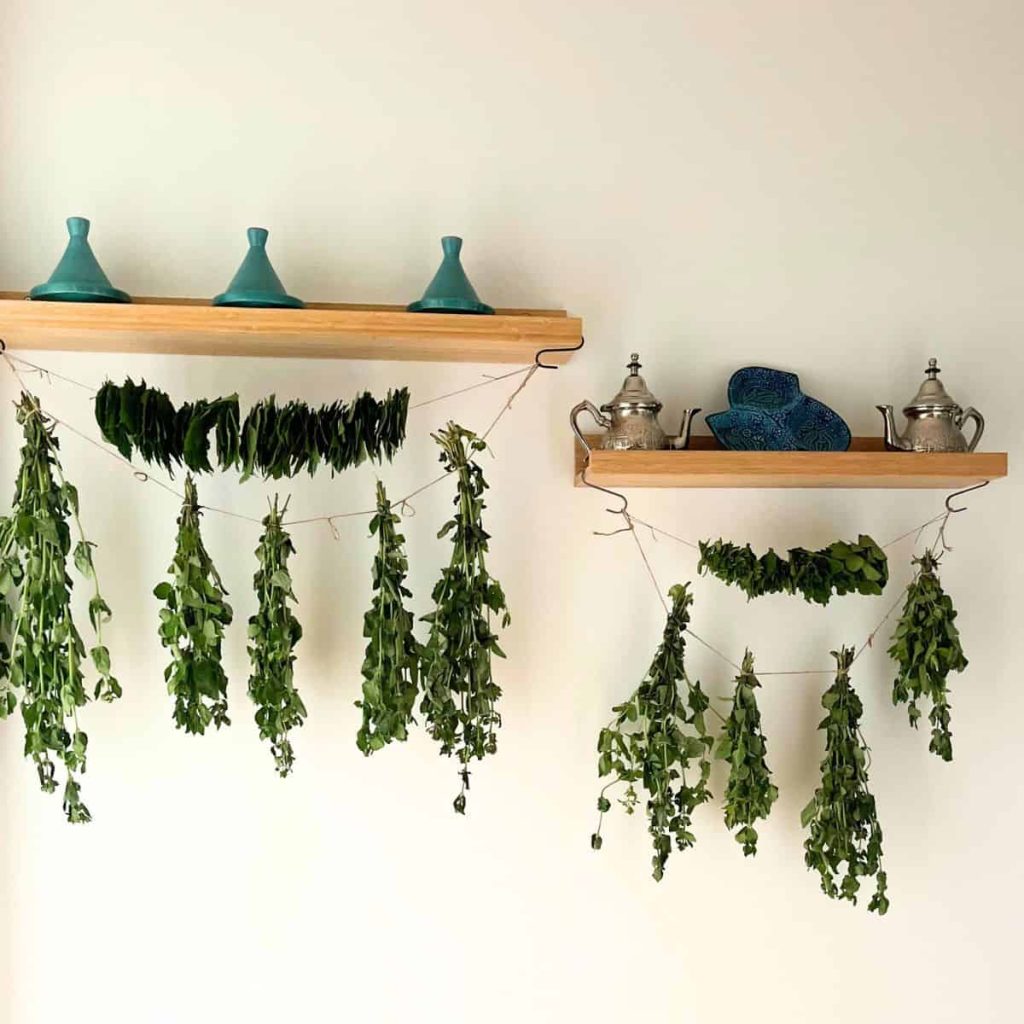
The herbal garlands are a beautiful decoration at home if you use imagination on how you hang them to dry.
Cons of String of Pearls Drying Herbs
Drying the pearls in a “string of pearls” might feel time-consuming, though it gets faster when you get the hang of it. This drying method is not suitable for tiny leaves or flowers, for they will break too easily when pierced with the needle. Use it preferably only for big leaves.
Examples of Drying Herbs in a “String of Pearls”
- Pierce through flat leaves with a needle and hang to dry like a chain of pearls using hooks underneath the shelves.
- Hang as a drop-down decoration or as a curtain on the wall from a long branch or narrow plank.
Flat Drying the Herbs
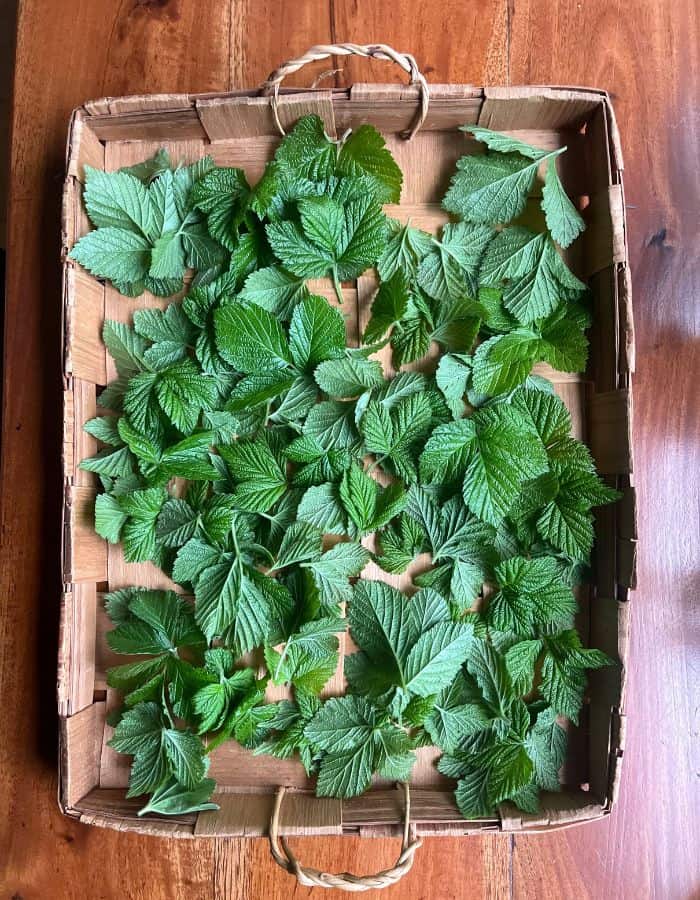
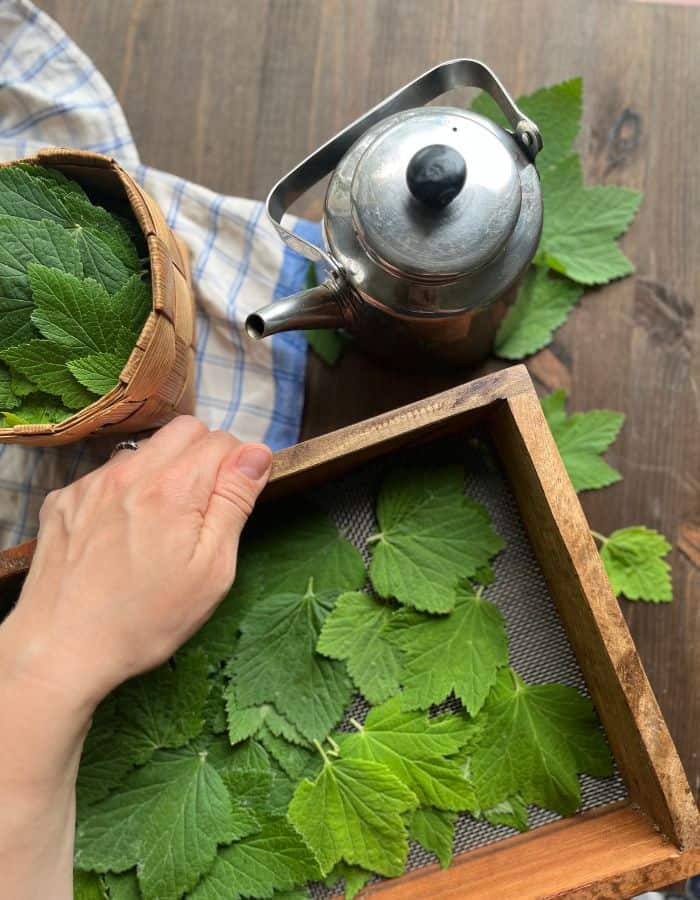
If you want a less time-consuming method but do the cleanup of the herbs right after harvesting, flat drying herbs is a good choice. Use a big tray, screen frame, or even just a newspaper or a sheet on a table to dry the herbs.
Steps for the Flat Drying Process
- Harvest the herbs
- Detach the leaves.
- Spread on a flat surface in a single layer to dry.
- Store when crisp-dry.
Pros of Flat Drying Herbs
Drying the herbs flat allows you to detach the herbs from the stems before drying, so you don’t need to clean the crumbly herbs from the table and floors when you detach the leaves after drying. You don’t need to keep the leaves intact to be nice and usable for threading through with a needle like with the “string of pearls” method.
Short on time?
Pin it for later!
Cons of Flat Drying Herbs
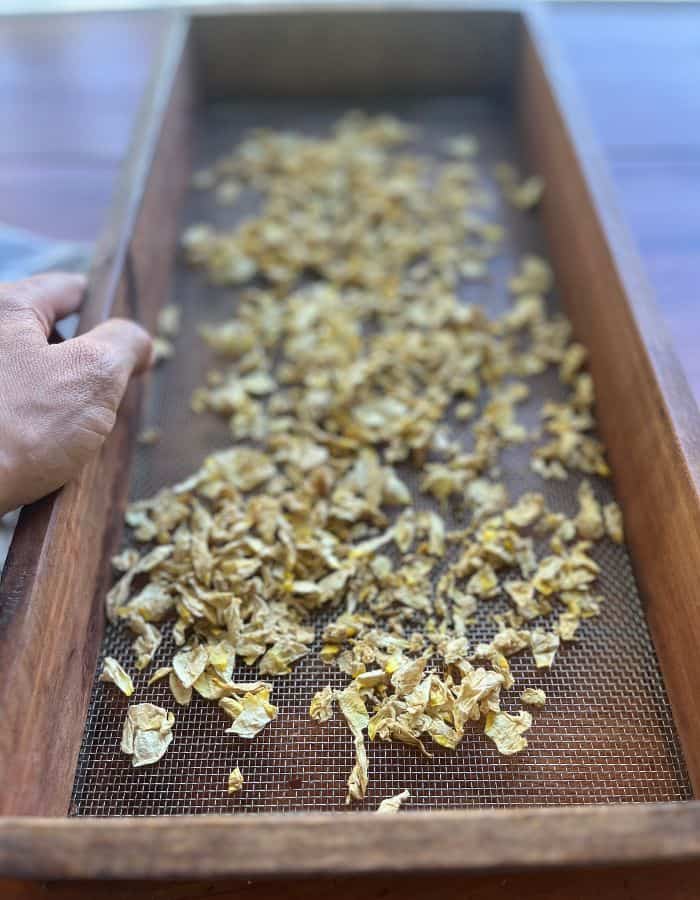
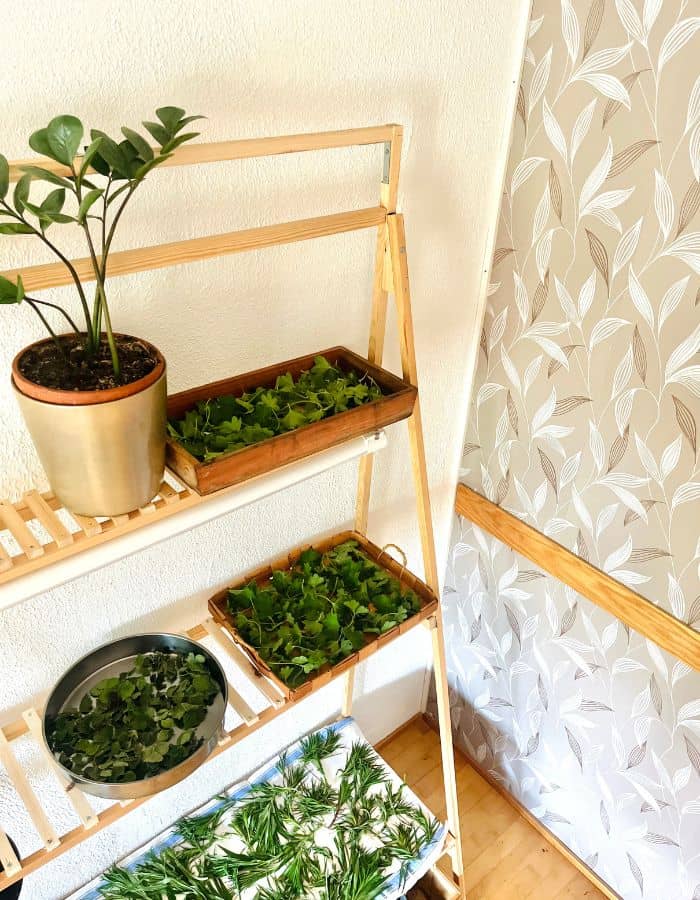
Flat drying takes a lot of space and surface. Thinner leaves take a few days to dry, and thicker leaves even longer. It might be impractical to cover the whole dinner table with a cloth to dry the leaves and eat at the kitchen table for a week (or the whole harvest time!). If you don’t have a bookcase to spare for drying trays, flat drying gives a headache.
Examples of Flat Drying Flowers and Herbs for Tea
- Spread herbson a tray on the side table.
- Use an old crayon box for smaller batches like flowers.
- Set a newspaper on a radiator and spread the herbs to dry on it as my mom does (don’t try with an electric radiator, or you might start a fire- only the one with water!)
Storing the Herbs for Tea
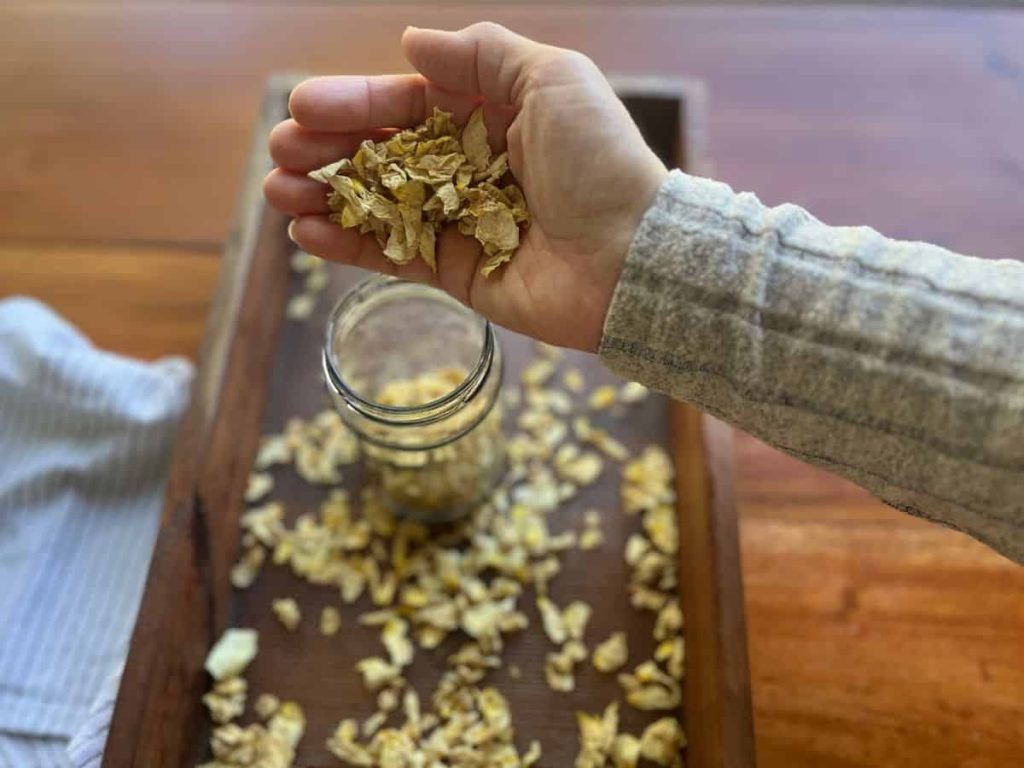
Most of the herbs keep well at least until the next harvest. Store herbs in clean jars, use preferably dark glass jars and avoid plastic. The herbs retain their properties best when stored in a cool, dark, and dry place.
READ NEXT: How to make a perfect cup of herbal tea