DIY Beeswax Tea Light Candles with Cozy Wooden Wicks

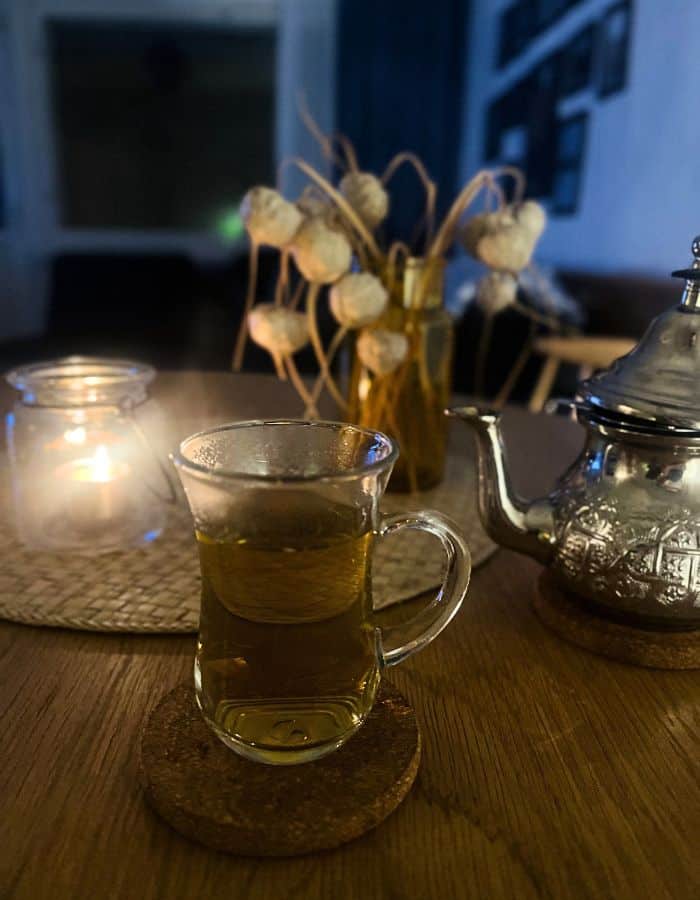
Beeswax tea lights are true friends of darkening winter evenings. Here in the North, we go through quite a lot of tea lights, and seeing those all those little aluminium cups piling up in the recycling made me rethink how I could make tea lights at home using only beeswax and refill the same cups year after year.
I also noticed that I totally love wooden wicks! They crackle beautifully as they burn, just like a mini fireplace, adding a little extra coziness to an evening cup of tea.
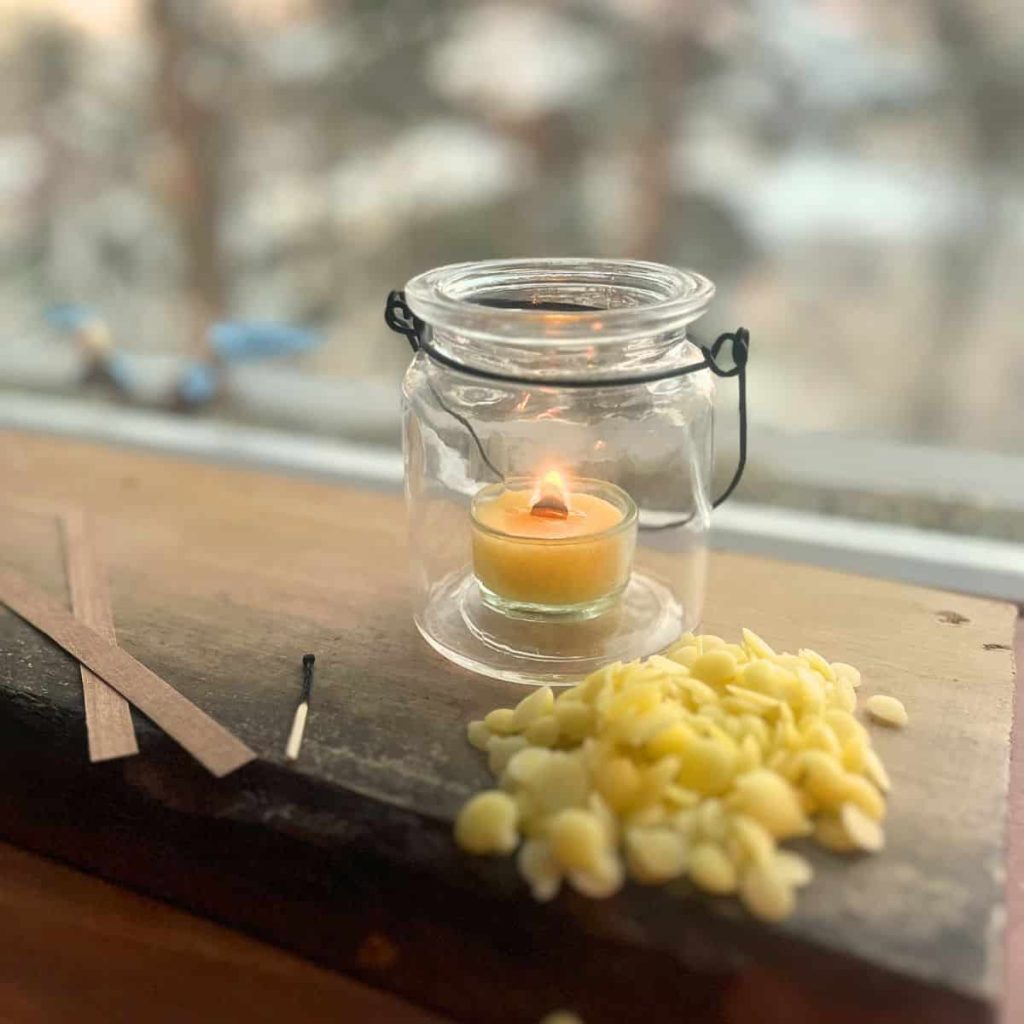
You can actually make beeswax tea lights rather simply. Basically, you need a burn-safe tea light cup, beeswax to melt, wick, and the clips for the wick. After you have burned the beeswax tealight with the wick, you can reuse the cup and wick clips and refill them again and again.
Simple and truly amazing.
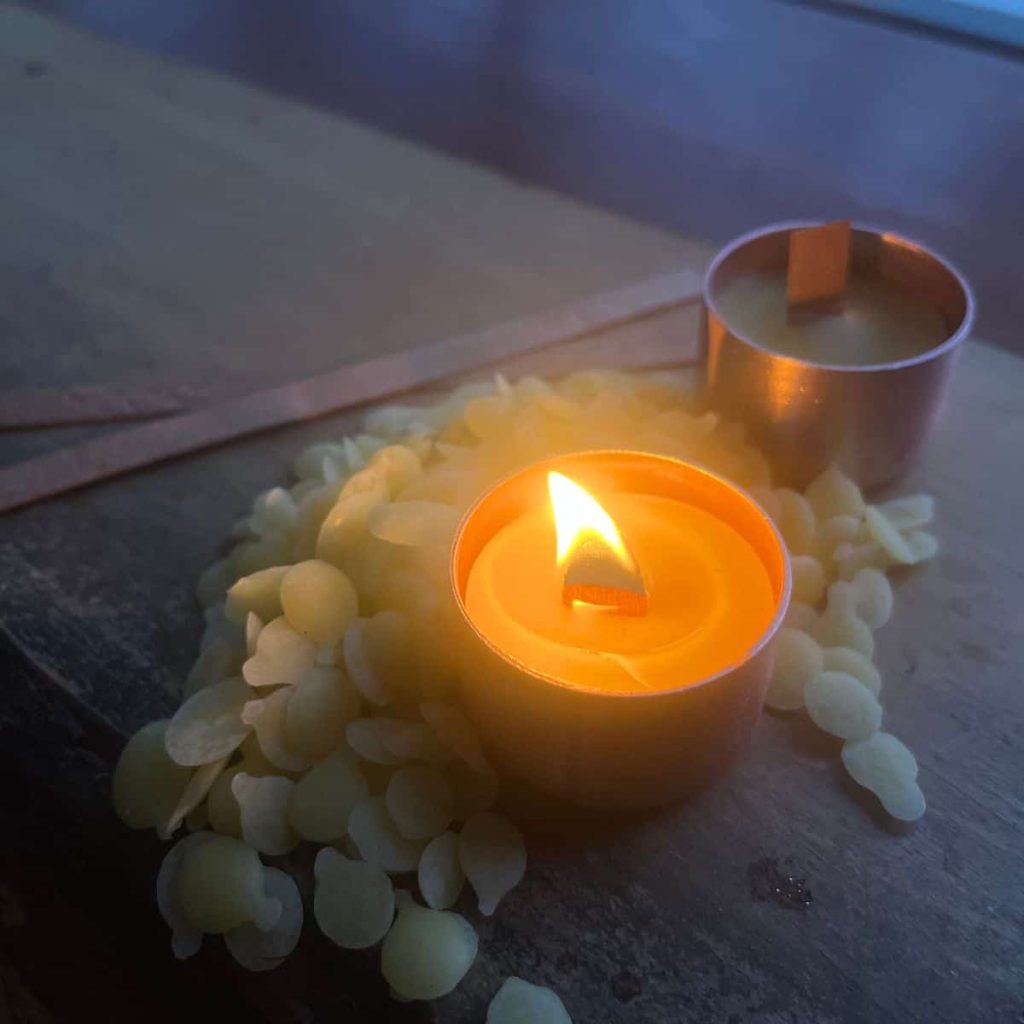
Materials for beeswax tealight candles
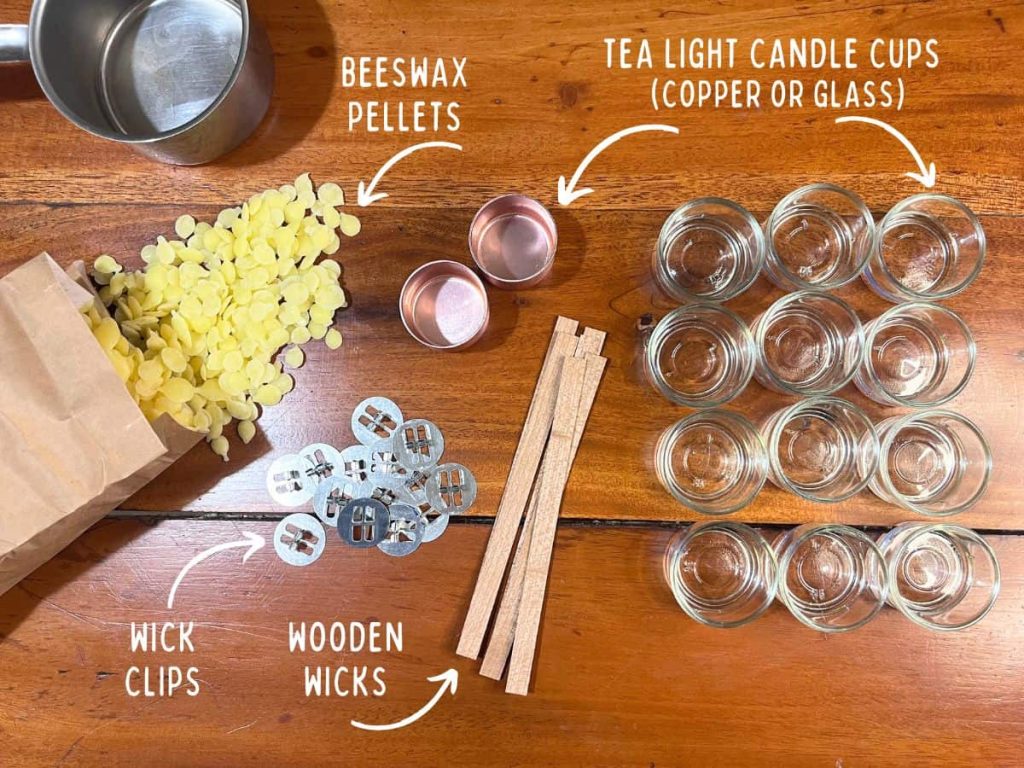
For homemade beeswax tea light candles, you need only a few materials: beeswax pellets, a wooden wick, wick clips, and a tea light candle cup.
Beeswax
When making tealights, using beeswax pellets is easier because they melt faster. I also recycle the scraps of beeswax sheets from making beeswax ornaments for Christmas in this one!
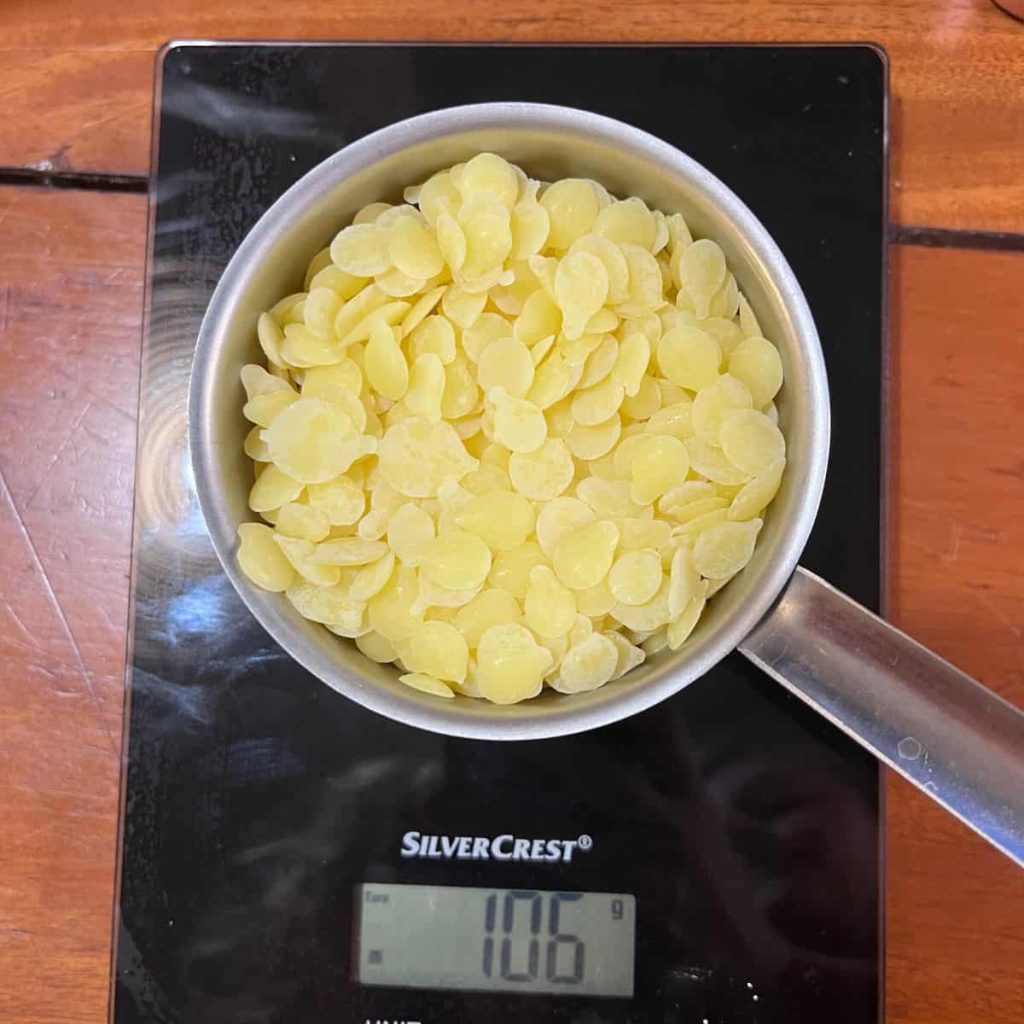
Depending on the tea light cups you are using and how full you fill them, about 100g of beeswax gives you about 12 to 14 tea lights.
Short on time?
Pin it for later!
Wooden wick
I prefer the wooden wick over the yarn in the beeswax tea light DIYs, for the wooden one holds its place more steadily than yarn, and – ah, the burning wood cracking sound when you have the you are burning your tea lights! You can use the yearn wick spool for your next rolled beeswax taper candle project.
Wooden wicks that are sold in about 130-150mm long trimmable pieces. For beeswax tealights, choose about a 13-14mm wide wooden wick so that it burns nicely. If you are making larger candles than tea lights, you might need a wider wick.
The wooden wicks, as well as the yarn, can be cut with scissors to the height you want. It is usually more cost-efficient to buy in bulk than to buy the ones that are already cut.
Wick clips
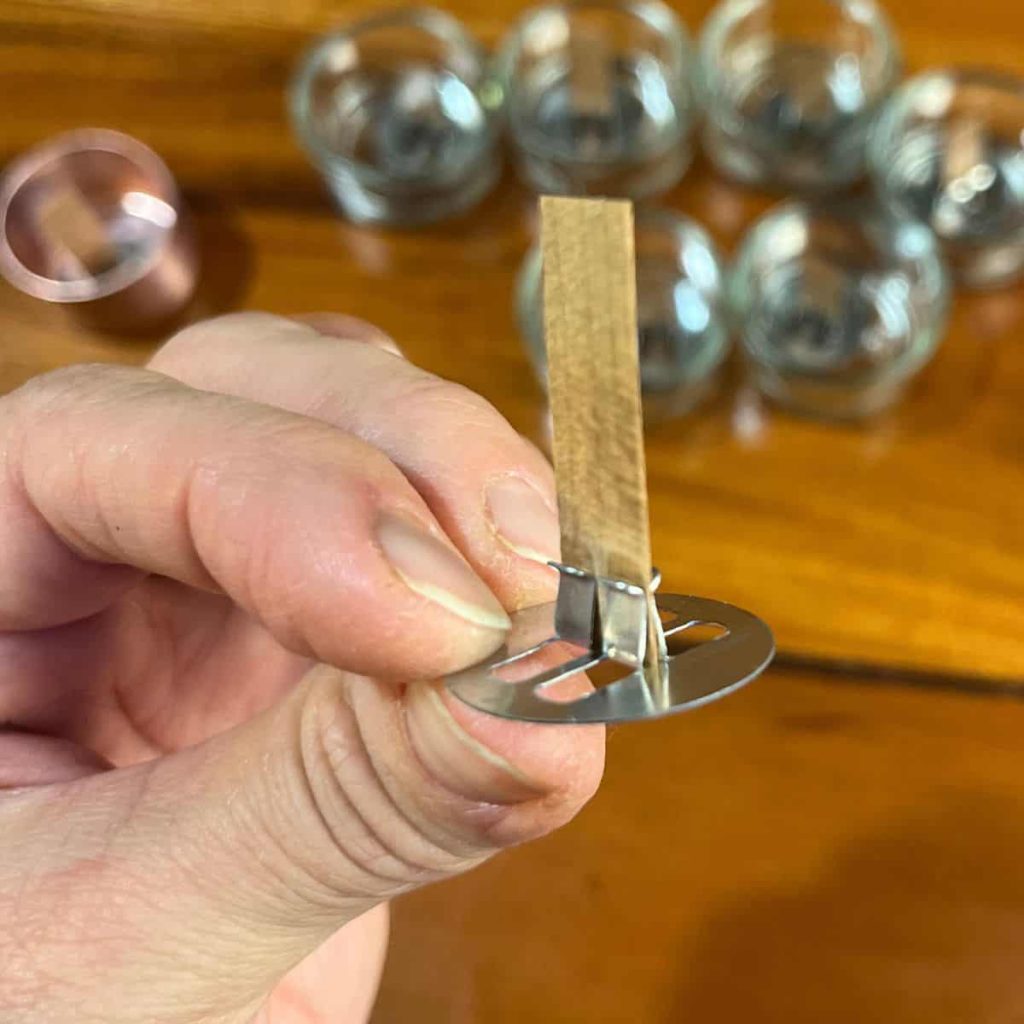
The wick clip helps the wick stand on it’s place when the tea light candle is burning. Wick clip is slightly different when using either a wooden wick or a thread wick, so make sure you choose the wooden wick clips. There are clips in many sizes and forms, but I have noticed that the kind of clip that is not completely closed in the end allows the wick to burn until the bottom, and does not waste the beeswax.
Glass or copper tea light candle cups
Instead of the aluminium foil in shop-bought beeswax tea lights, you can choose reusable tea light candle glass cups or copper cups. The copper cups look beautiful, but they can be very pricey and hard to find. I purchased only a few of those locally myself, but several glass ones for more general use. But as I said, those are only one time investment, for they are refillable year after year.
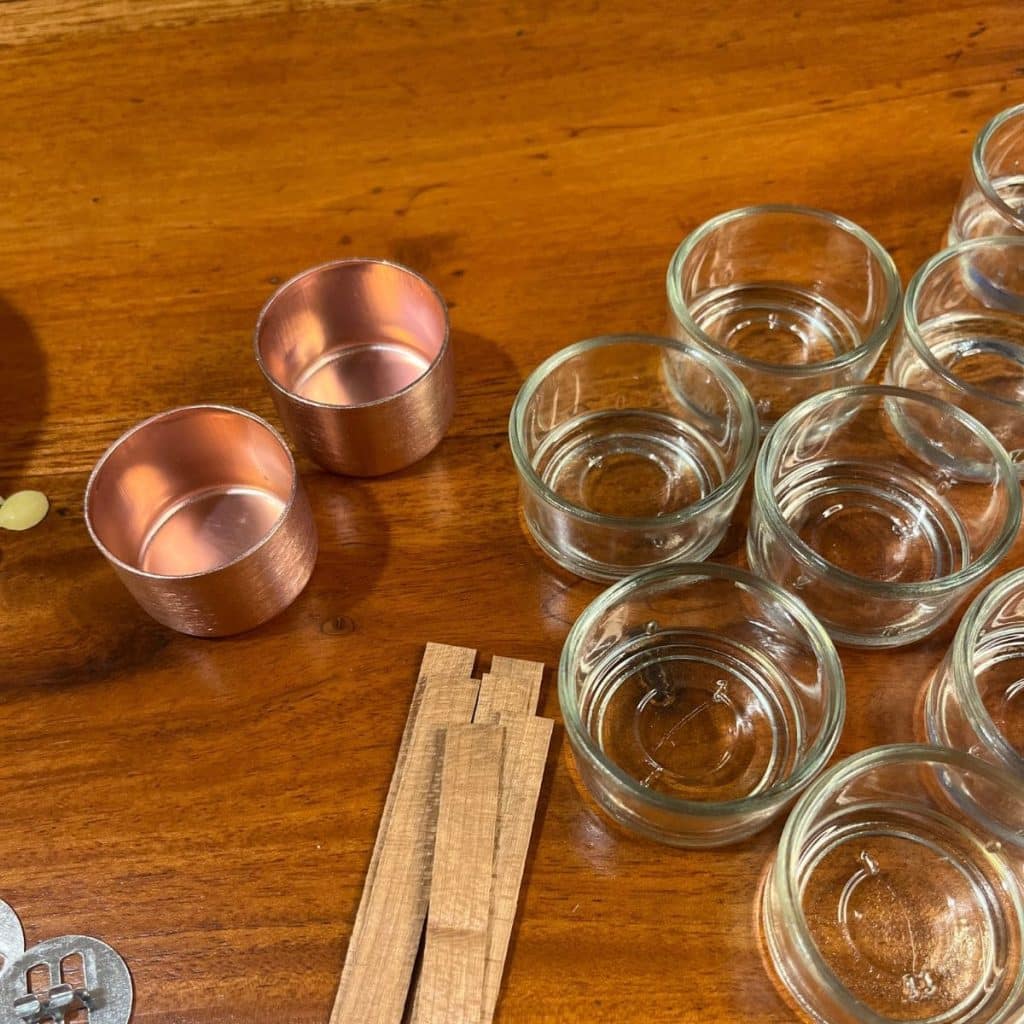
If you still have shop-bought tea lights with aluminium foil left, you can also start with reusing those cups first. Aluminium cups can also be used multiple times, but they deform easily and start to look messier after only a few refills.
Short on time?
Pin it for later!
Tools you need to make beeswax tea lights
- A saucepan for a bain marie, and a smaller saucepan or a heatproof jar to put on it. You want to have something with a handle for easy pouring.
- Scale
- Spoon
- Trays or newspaper to catch the dripping beeswax.

Beeswax Tea Light Candles DIY
You can actually make beeswax tea lights rather simply. Basically, you need the burn-safe tea light candle cup, beeswax pellets to melt, wick, and the clips for the wick. After you have burned the beeswax tealight with the wick, you can reuse the cup and wick clips and refill the cups again and again.
Materials
- 100g Beeswax pellets
- Wooden wicks, trimmed into 12-14 pcs
- 12-14 pcs Wick clips
- 12-14 pcs Glass tea light candle cups
Tools
- Two saucepans for bain-marie
- Scissors, for trimming
- Scale
- Spoon
- Trays or newspaper to cover the work surface
Instructions
- Prep the working area
If you want an easy clean, line your table with newspapers or have some DIY dedicated trays in hand to catch any dripping beeswax.
Prepare one pan with about 5 centimetres (2 inches) of water on the bottom to make a Bain-marie for the beeswax. - Insert the wooden wicks
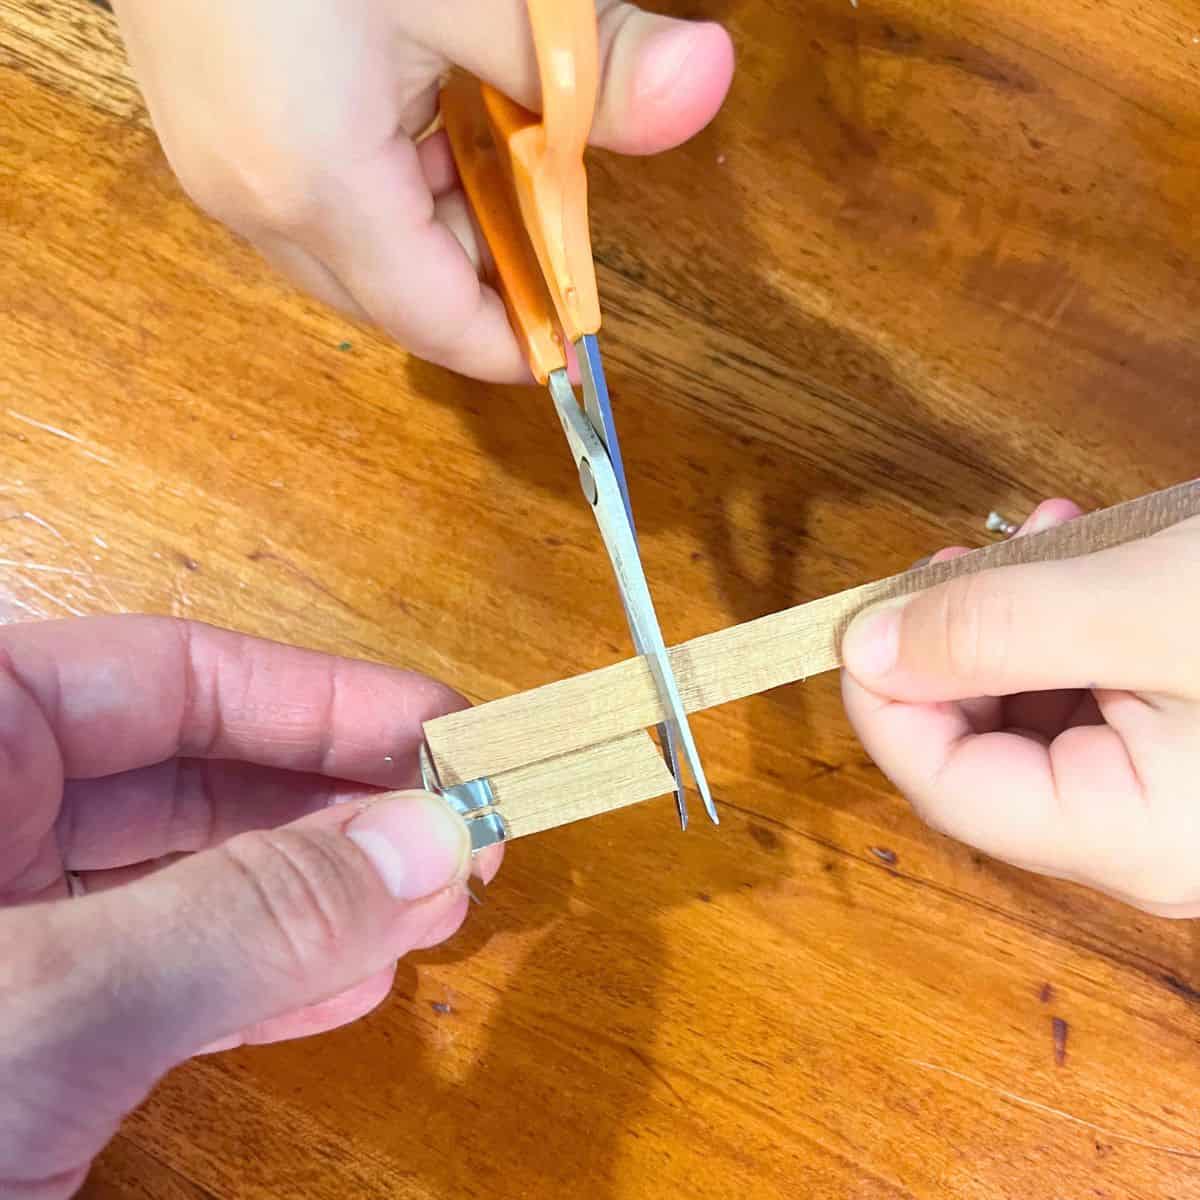
Take time to cut the wooden wicks to the correct length. You ned about 1 cm (1/4 inch) taller wick than your tea light cup, to avoid the wick drowning. The easiest is to insert the wick first into a wick clip, then measure it for the clip adds a bit of length to the wick. Then cut the rest using the first wick as your measure.
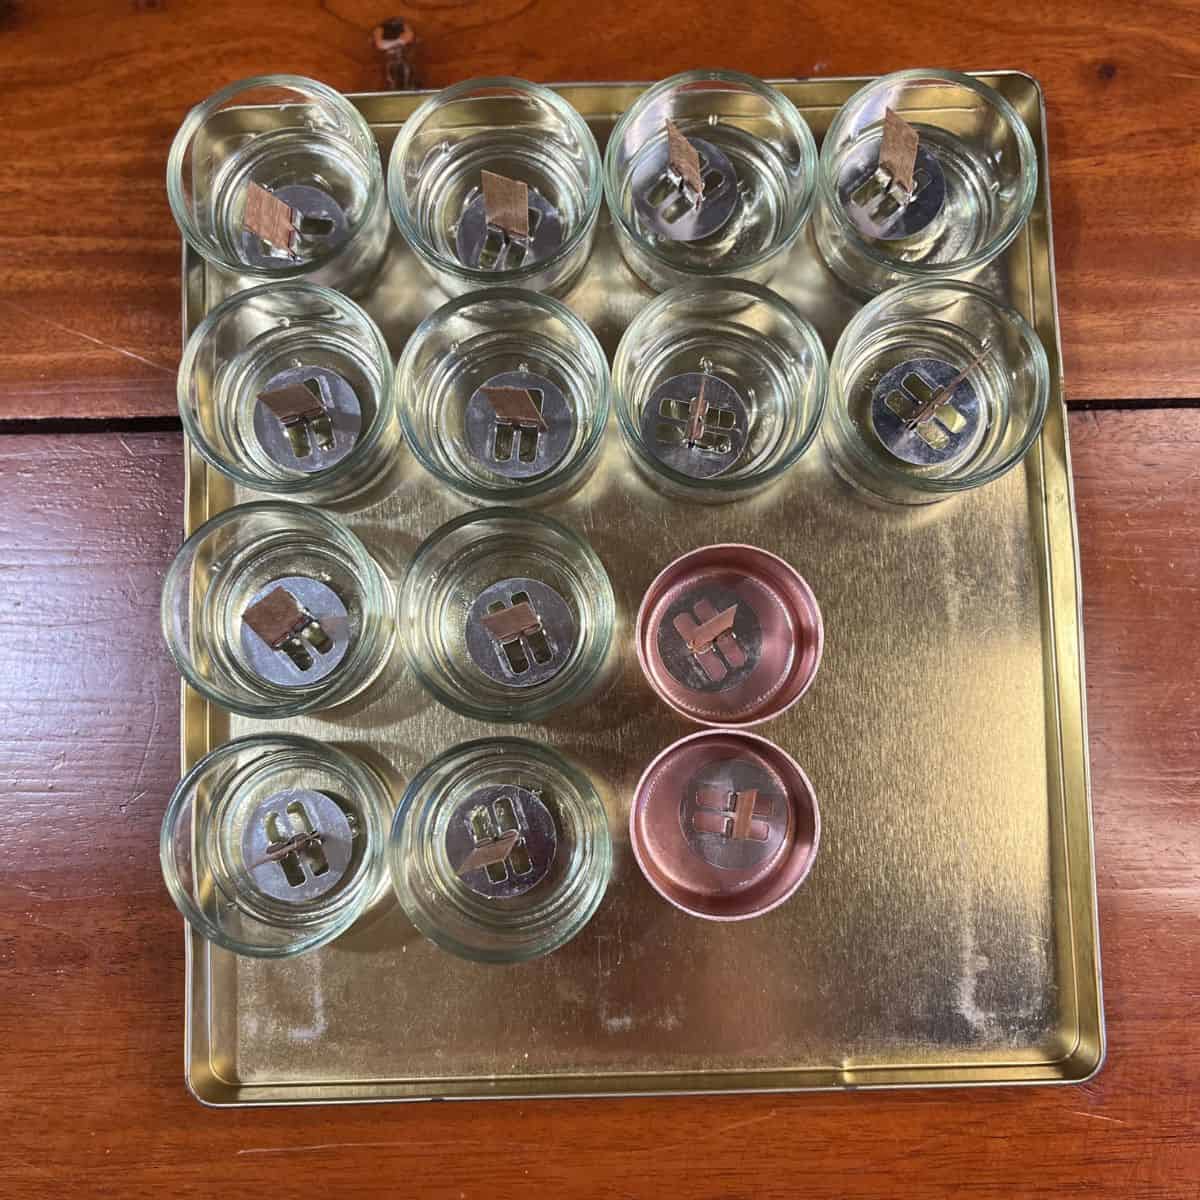
Set the wicks with clips in the middle of the cups and on the trays or the lined area next to your stove. - Melt the beeswax in a bain-marie
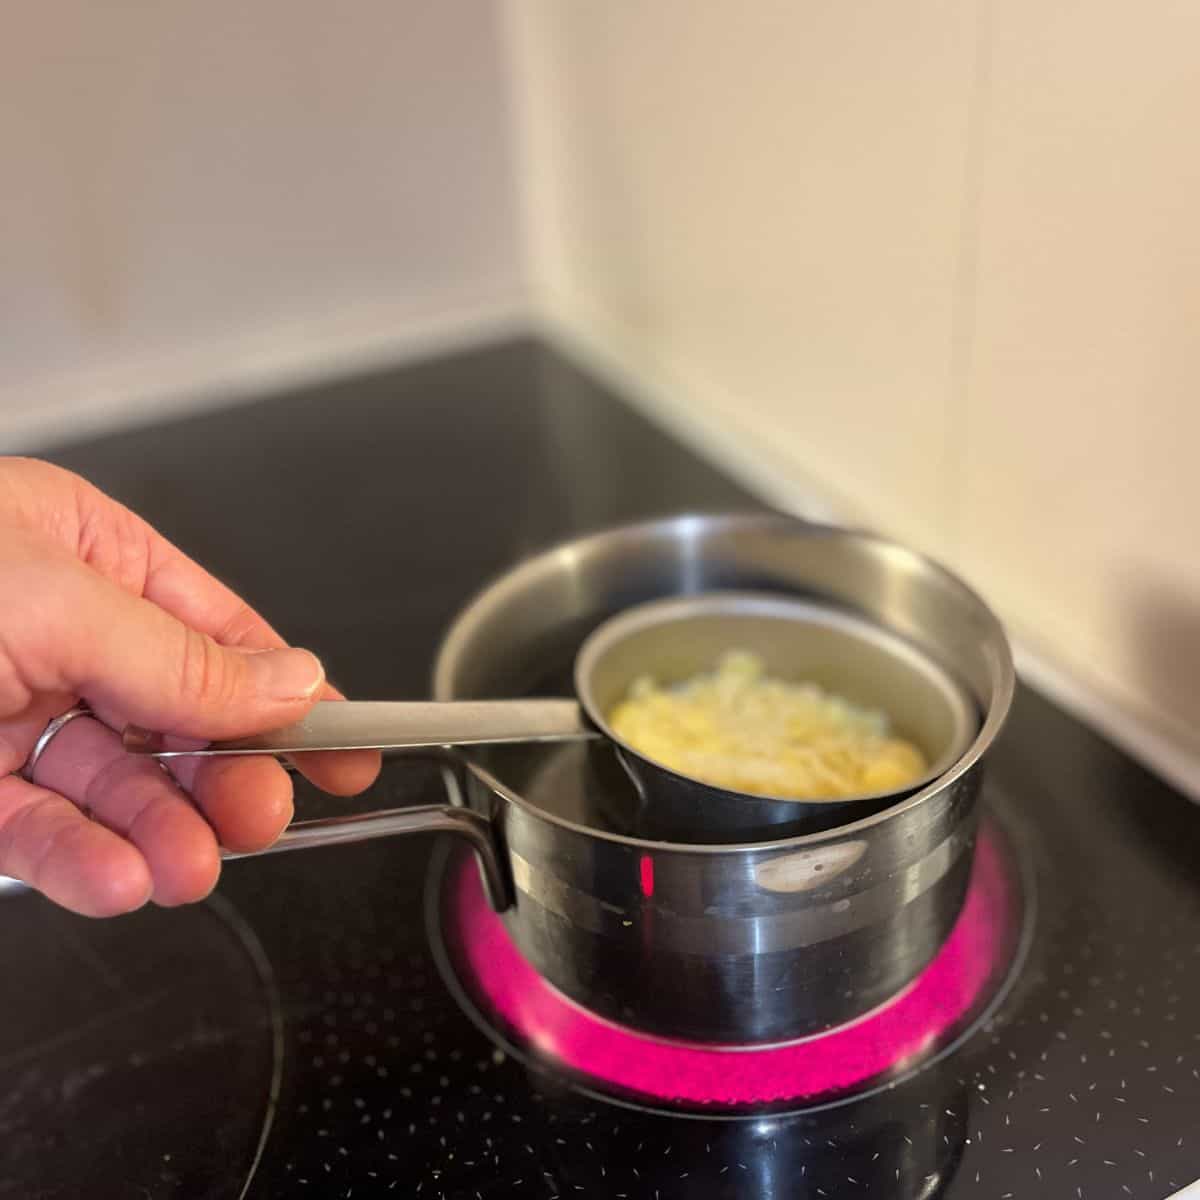
Measure about 100g of beeswax pellets per 12 to 14 tealights and melt in a bain-marie, a simmering water bath. Because beeswax is very hot when melted, but also cools down quickly, you want to melt the wax in a smaller saucepan or a heatproof jar for an easy grip and pour.
Stir occasionally to help the beeswax to melt evenly. Keep the water simmering; do not boil. - Fill with beeswax and adjust the wick
When beeswax pellets have melted, pour the liquid beeswax gently to fill the tea light cups with ready-set wicks in their clips. If a wick moves off the center of the cup when you pour, adjust it immediately. Beeswax cools down very quickly, and the wick cannot be moved later.
You can fill the tea light cups slightly higher with beeswax than what you think is a good amount, for beeswax sinks a bit when it cools down and hardens. Return the beeswax to the bain-marie if it doesn’t feel runny. Reserve some beeswax to fill up those that seem to sink lower. - Let DIY beeswax tea light candles cool down
It takes about one hour or more for the homemade beeswax tea light candles to harden and have their final shape. When they are completely cooled and hard, the beeswax tea light candles turn back into the beautiful beeswax yellow color.
 The easiest is to insert the wick first into a wick clip, then measure it for the clip adds a bit of length to the wick. Then cut the rest using the first wick as your measure.
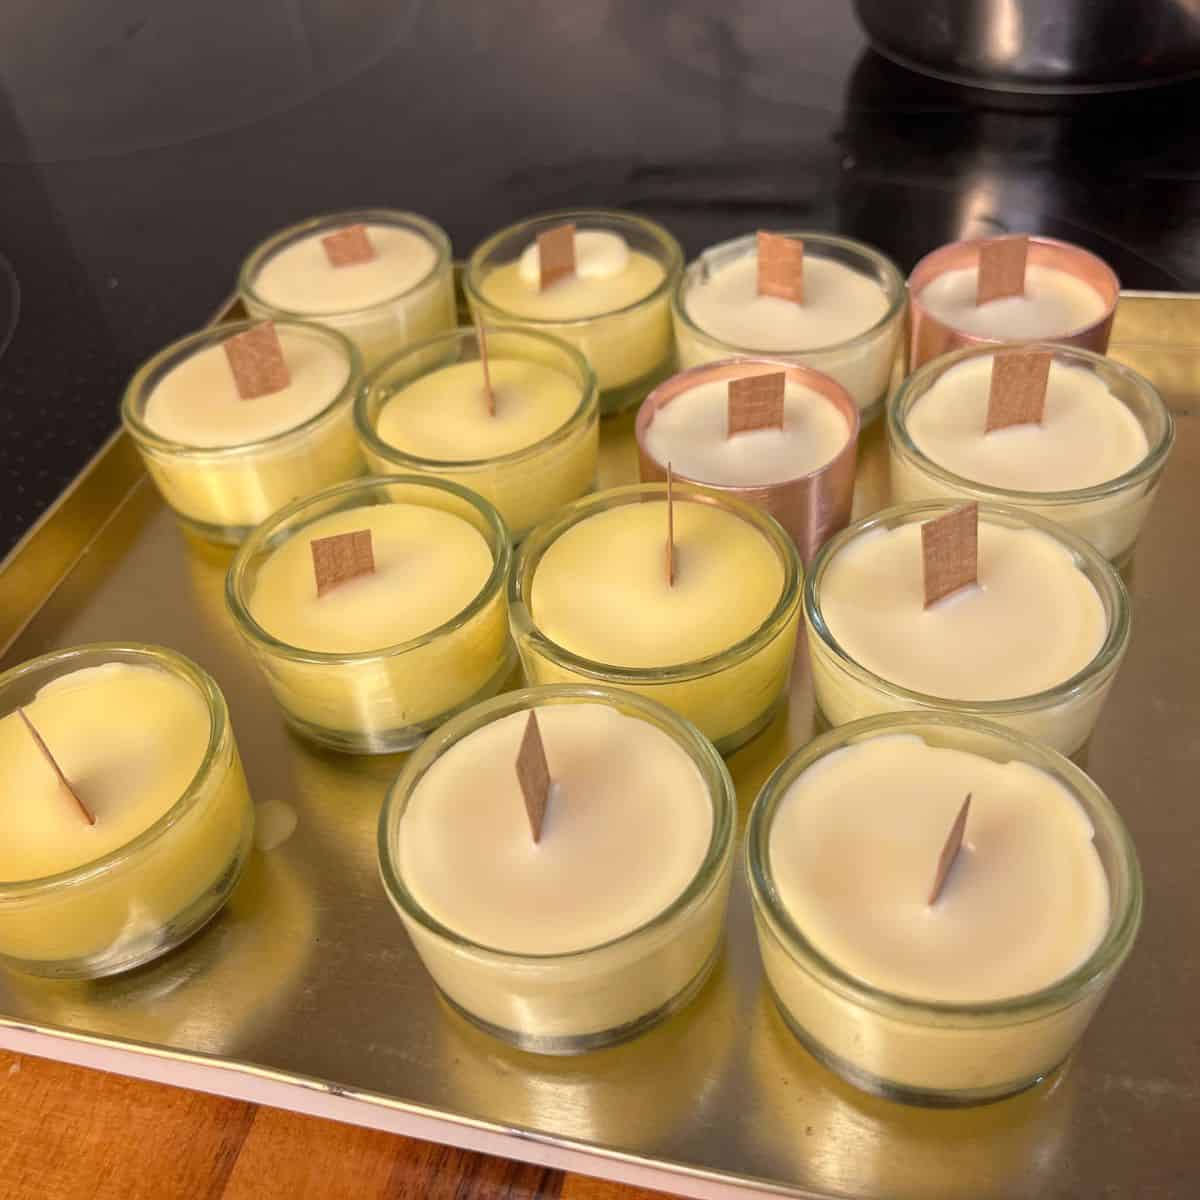
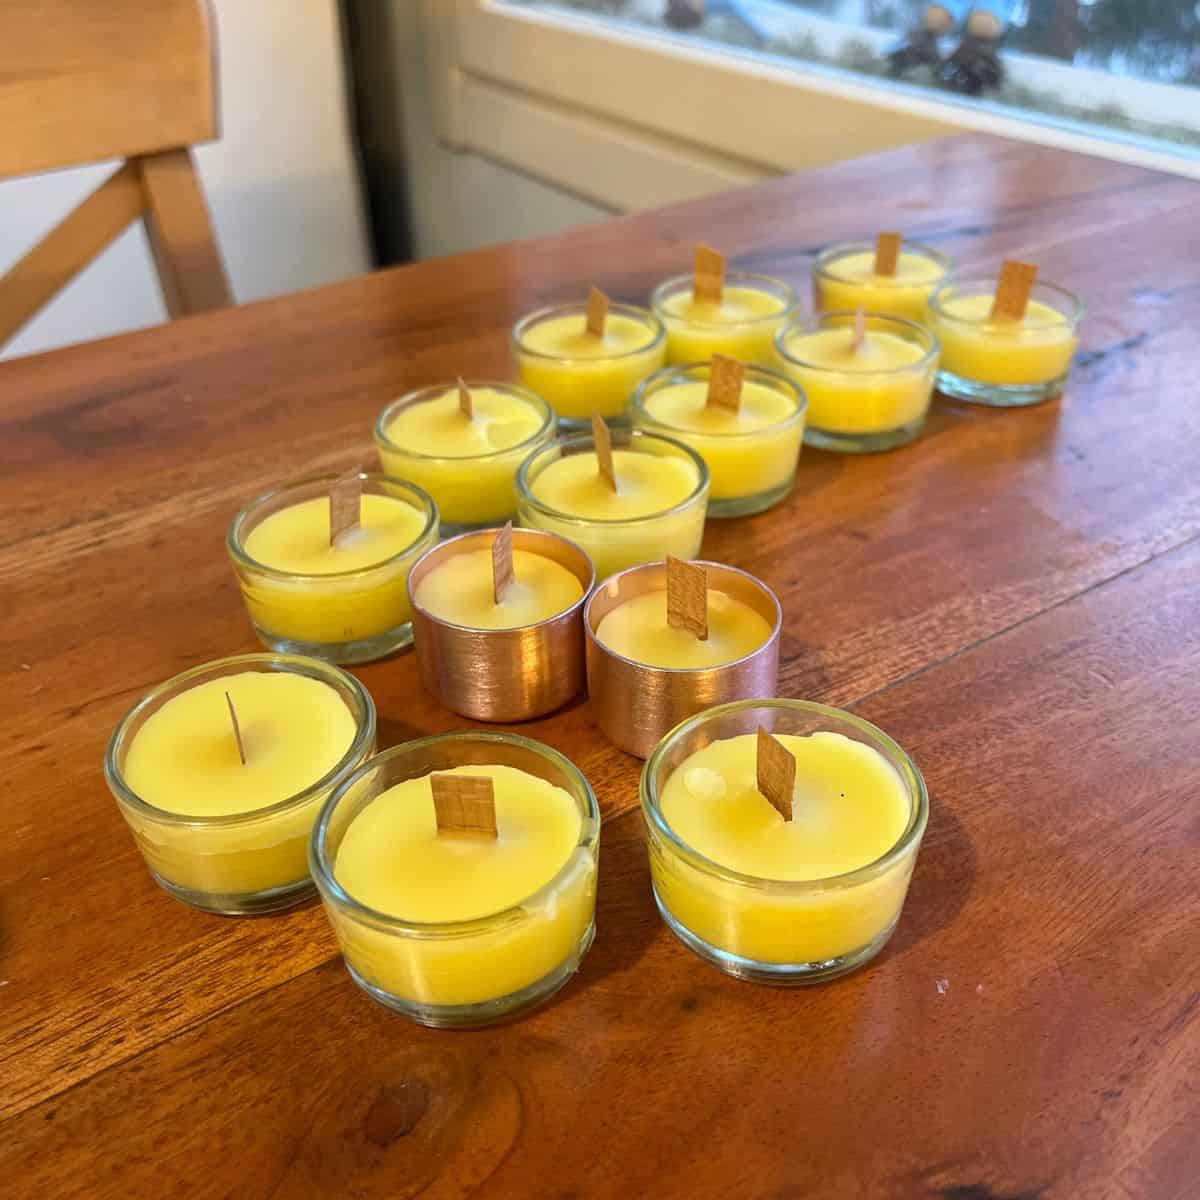
Notes
- Homemade beeswax tea lights are a perfect gift, paired with a decorated set of matches in a tiny basket or wrapped beautifully! Browse more natural gift ideas.
- On the side of tea lights, you can also use beeswax pellets in making beeswax food wraps or the beeswax as sheets in making rolled beeswax candles and beeswax Christmas ornaments.
Recommended Products
As an Amazon Associate and member of other affiliate programs, I earn from qualifying purchases.

I love cozying up with the homemade beeswax tea light candles with – well – a cup of tea of course!